If you are reading the section, then you probably interested in how to free disk space on Mac. No worries, because in the segment, we will be discussing the top 5 ways to clear the disk space on Mac.
Whether you are using the old Mac or new Mac, it is essential to understand the way that can help to clean the system storage. In the next section, we will be showing some popular methods that will help in recovering the space on Mac. They are quite alchemy, because we will be turning the junk into free space. Let’s check how.
How to Free Disk Space on Mac?
We have gathered some information on how to properly manage storage both manually as well as automatically. Keep reading further!
Method 1. Clean System Files
Potential Space Reclaimed (2-5 GB)
There are loads of articles describing the system junk, and some Mac users claim that system is completely evil as it slows down the Mac machine. But, in our view, the excess burden on the machine will slower the system functioning such as outdated files, app localizations, browser caches, and old Time Machine backups.
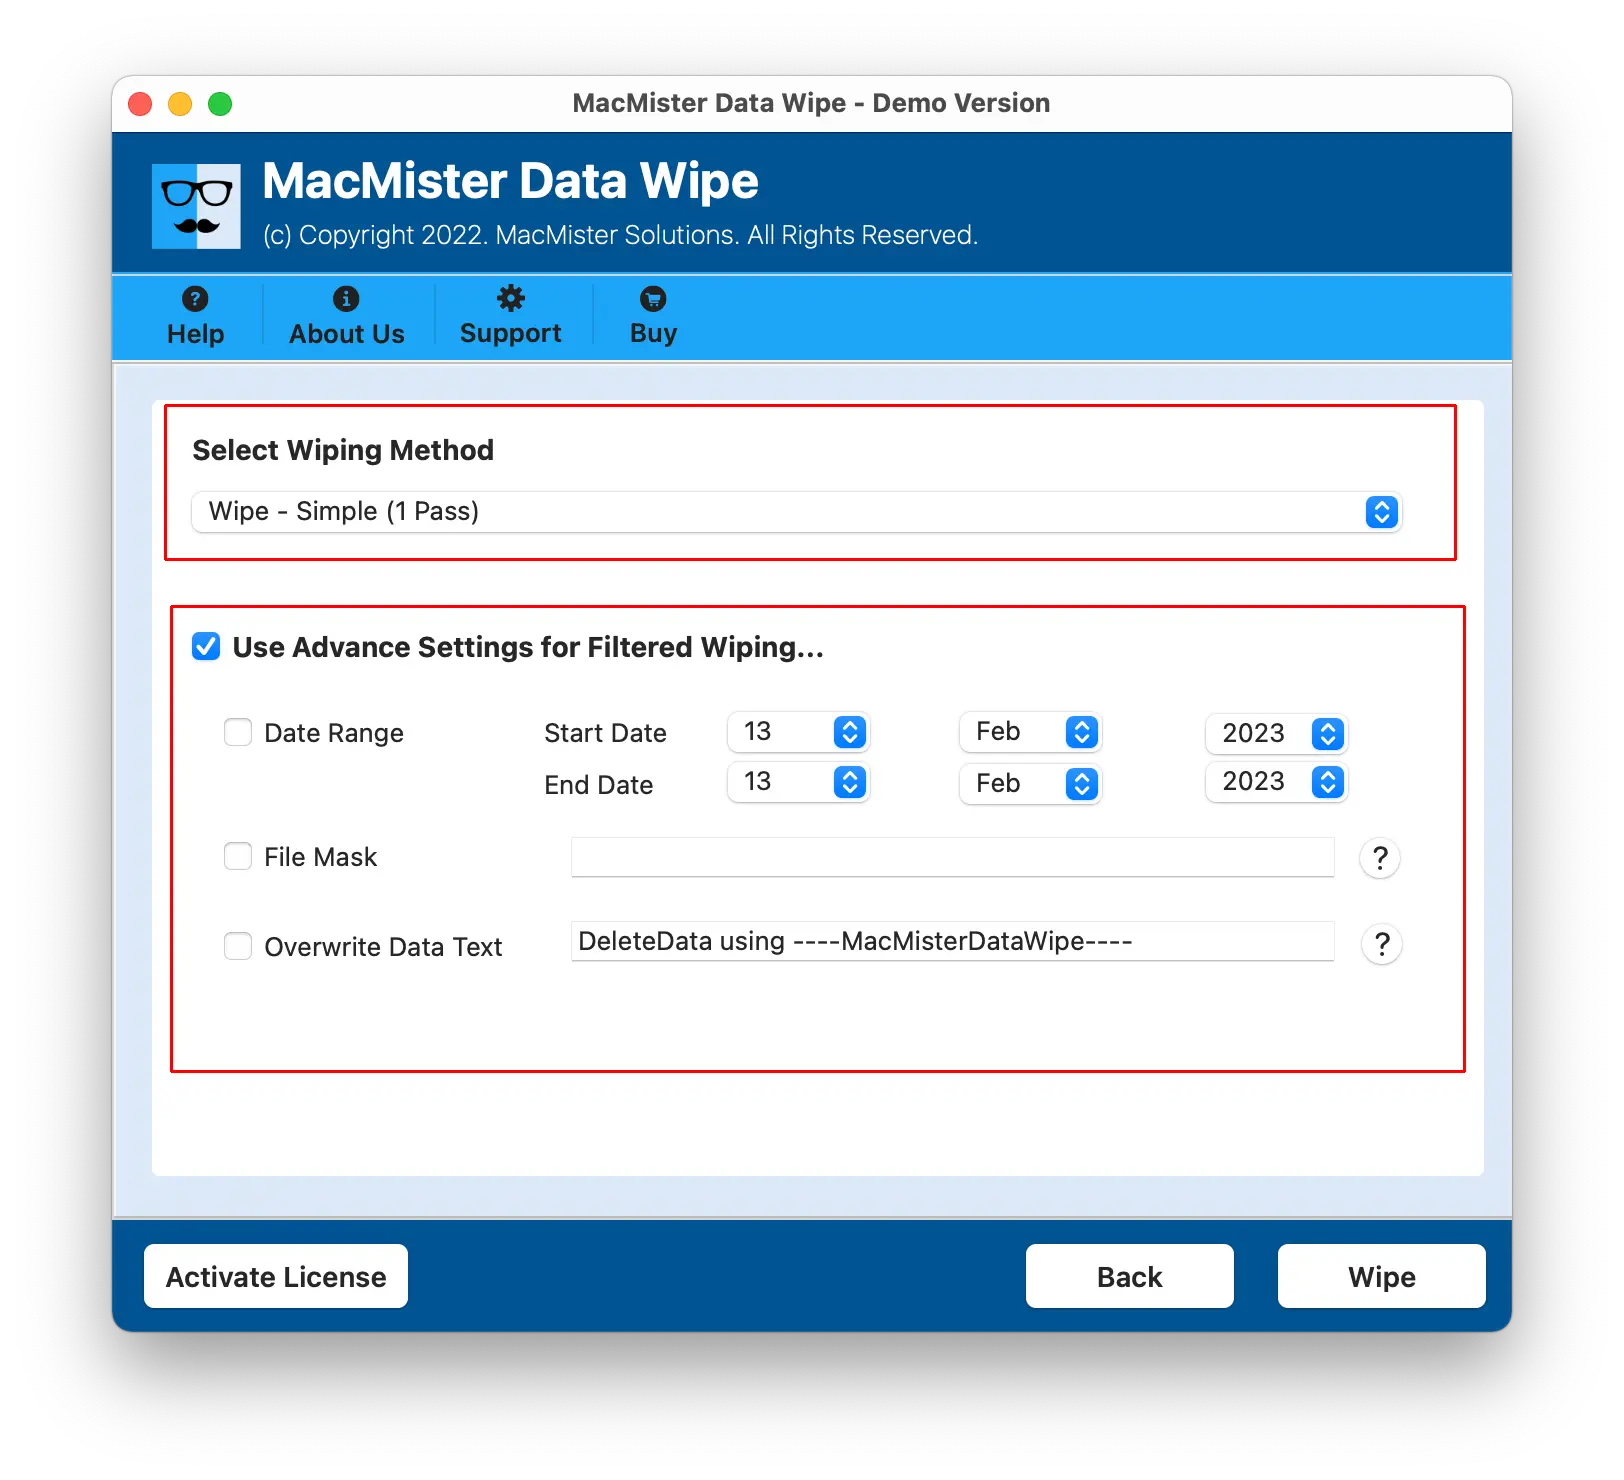
Deleting the system junk manually can be a complicated mess even if the user is experienced. So, if you want an instant solution then download MacMister Data Eraser Tool. It is a certified solution and will quickly clean the Mac hard drive database that is no longer needed without giving you any trouble.
What the tool can does?
- Permanently delete files and make up the space for new data.
- Different levels are available i.e. low, medium, and high.
- Supports 15+ international eraser methods.
- Portable memory drives are also supported i.e. SD cards, USB sticks, etc.

Method 2. Remove Browser Cache
Potential Space Reclaimed (1-3 GB)
If you use the internet regularly, then your Mac drive could be full of browser cache. These are the kind of bookmarks left on the drive by every site that you visit. What’s the primary browser? Here are some solutions for Chrome, Safari, and Mozilla Firefox.
To Erase Chrome Cache
Step 1. Go to Chrome, click on the three-dot icon appearing in the top-right.
Step 2. Choose More Tools and go with Clear Browsing Data.
Step 3. Set the time range and clear the browsing data accordingly.
Step 4. Also, check “Cached images and files” and tap Clear Data.

To Erase Safari Cache
Step 1. Open Safari, navigate to Settings from the menu.
Step 2. In the Advanced Tab, select Show Develop menu.
Step 3. Navigate to Develop in the top menu and select Empty caches.
To Erase Mozilla Firefox Cache
Step 1. Navigate to Settings and choose Privacy & Security.
Step 2. Select Cookies and Site Data and choose Clear Data.
Step 3. Mark Cached Web Content and click Clear.

Method 3. Clean Media Files
Move photos to external drive or store it on cloud storage.
Potential Space Reclaimed (2-5 GB)
Now the unnecessary system files are removed, so the next in line is media files. We are quite aware that these are not just files, they are the memories that one treasure so much. So, if you want to keep them protected, then transfer the same to iCloud or external drive.
Steps to Transfer Photos to iCloud:
Step 1. Go to the Apple menu. Click About this Mac. Select More Info and tap Storage Settings.
Step 2. Hit Store in Cloud button and select the necessary files to store.
Step 3. Again press Store in Cloud button.

Remember, the free iCloud plan allows to store the data up to 5 GB. If you have more data to transfer, the buy the storage plan that offers 50 GB, 200 GB, or 2 TB of additional space.
Steps to Transfer Photos to External Storage
Step 1. Go to Finder, select Go, and choose Home.
Step 2. Select the Pictures folder and drag it to a location of external storage drive.
Step 3. Done! Now, delete the original Photo library to free storage space. Simply drag the same to Trash/Bin and then empty it.
Method 4. Clear Unwanted Apps and all the Leftovers
Are you aware of a method that can help you to delete applications on Mac? Directly dragging them and dropping to Trash/Bin from Applications folder and the other includes Launchpad.
Let’s check the steps to clean unwanted apps via Launchpad
Delete apps via Launchpad
The preferable way to delete apps is via Launchpad because the process is quite fun. Open Launchpad after navigating to Dock. Now, click on Command key and hold the app until it start to shake. Now, [X] symbol will appear above the icon - click on it to delete the app.

Method 5. Clean other Files
Wipe the Downloads Folder
Potential Space Reclaimed (2-5 GB)
The moment you took a decision to wipe up your Mac, then there is no better place to start than the Downloads folder. We as users, download unlimited amount of data on the computer. And let’s be honest, we don’t need even half of it. So, dumping the unnecessary files to Trash/Bin help in reducing the clutter.
Steps to Clear Downloads Folder
Step 1. Navigate to Finder and click Downloads.
Step 2. Right-click the files that you need to get rid of and select Move to Trash/Bin.
Step 3. After the delete process completed, don’t forget to empty the Trash.

Steps to Find Large Files that are no Longer Needed
Step 1. Navigate to Desktop and press the key Command + F.
Step 2. Select This Mac.
Step 3. Select Other… appearing in the menu.
Step 4. Choose File Size from the list.

Steps to Trash old iPhone Backup
Outdated iPhone backups take a lot of space. In case you ever take a backup of iPhone in your system then Mac will probably store the iPhone’s data. It will make sense to check the drive for outdated apps before they grow out of proportion.
Steps to Clear Space on your Mac by Deleting Old Backups:
Step 1. Go to Finder. Click Go appearing in Finder’s menu. Choose Go to Folder…
Step 2. Paste the following path ~/Library/Application Support/MobileSync/Backup and click Return key.
Step 3. Move the insides of the folder to Trash/Bin.

If you want to remove a particular backup, follow the steps:
Step 1. Connect your iPhone using cable to your Mac.
Step 2. Navigate to Finder. Select Locations. Choose Device.
Step 3. Select Manage Backups.

Right-click the name of the backup to check “Show in Finder”. Move the backup to a different place or delete it using Delete option.
Take out the Trash
The advice is quite easy. However, people don’t remember doing it. Many times we deleted the files and they get stored in Trash/Bin. But, this is just moving the data from one pocket to another. To free up the space correctly, right-click the Trash/Bin icon and select Empty Trash/Bin.
Steps to Empty Trash/Bin Automatically on Mac
However, if you don’t want to empty the trash, then there is a scheduled option also. You can set the schedule and the Mac will do the file deletion accordingly.
- Go to Finder. Click Settings.
- Select Advanced.
- Choose the Remove Items from the Trash/Bin after 30 days.
Epilogue
The article has highlighted multiple ways to free up disk space on Mac. However, the best way to do the job is by using first method. Because, it is a certified solution and makes sure to delete the unnecessary data that is no longer needed. But, the choice is yours. You can go through all the methods and opt for the suitable solution to clear the disk storage space on Mac OS.
- 1How to Backup Mac or MacBook?
- 2How to Backup Mac to External Hard Drive?
- 3How to Check Storage on MacBook Air?
- 4How to Backup iPad to External Hard Drive?
- 5How to Set Up Apple Watch without Pairing to iPhone
- 6How to Lock Whatsapp with Face ID in iPhone?
- 7How to Track Stolen iPhone using IMEI Number?

Erase your data permanently from your Mac machine. Get the trial edition now!