How to Import Outlook PST File to Apple Mail on Mac?

Are you having Outlook PST files that you want to import into the Apple Mail application? Looking for a method to import Outlook PST file to Apple Mail? Unable to find the right solution for it? No worries, because MacMister PST Converter for Mac is here to help you out!
PST is a file format of Windows Outlook and stands for Personal Storage Table. It is a personal information manager which manages the personal account data of a user such as emails, contacts, calendar, etc. But, the challenge is it only opens in Windows Outlook. If a Mac user tries to access it, it will show an error on the screen.
Also Read
Apple Mail on the other hand is a default email application of macOS. More than half of the population makes use of email clients on Mac to manage daily tasks. It has the ability to configure the software to get all user’s mail accounts in a single list. Moreover, allows the option to search for emails, automatically add signatures while sending emails, and also carries the ability to file emails into folders. Apart from this, Apple Mail offers numerous benefits to Mac users that ease their daily communication tasks and help them in organizing their account data in a precise way.
However, the migration of PST to Apple Mail can be implemented using two methods –
- Manual Technique
- Professional Method
Let’s discuss them one by one. You can use the suitable solution and perform the desired task.
Manual Technique to Import Outlook PST to Mac Mail
The manual approach of the tool is quite complicated. So, it is recommended to implement each step appropriately. The miss of a single step can lead to data loss or corruption. Also, it is advised to take the backup of PST file data before initiating the process.
Step 1. Outlook sync with Google Workspace using IMAP
- Go to your Gmail account and log in with your credentials.
- Click on the gear icon appearing top right and click Settings.
- Select Forwarding and POP/IMAP tab.
- Choose Enable IMAP option.
- Press the Save Changes button.
- Open MS Outlook email client.
- Go to File and click Add Account.
- Choose Email Account and press Next.
- Choose the option of Manual Setup or Additional Server Types and press Next.
- In the new wizard, provide your name, email ID, and password.
- Change Account Type to IMAP.
- Now, in Incoming Mail Server, enter imap.gmail.com.
- In the Outgoing Mail Server, enter smtp.gmail.com.
- Hit More Settings.
- Change Incoming Server (IMAP) and Outgoing Server (SMTP).
- In Outgoing Server, choose My Outgoing (SMTP) needs Authentication.
- Choose Use Same Settings as My Incoming Server.
- Press OK and hit Next.
- Hit Finish and click OK to end the process.
- Drag the required emails from Outlook and drop the same in an already existing folder of Gmail.
Step 2. Gmail Configuration in Apple Mail
- Open Apple Mail, go to Mail, and click Preferences.
- Go to the Accounts tab and click Add icon.
- Provide the complete name, email ID, and account password.
- Press Continue.
- Enter required details in fields accordingly:
Incoming Mail Server
- Account Type: IMAP
- Description: Gmail
- Upcoming Mail Server: imap.gmail.com
- Username – Gmail email ID
- Password – Gmail Password
- Press Continue.
Outgoing Mail Server
- Description: Gmail
- Outgoing Mail Server: smtp.gmail.com
- Username: Enter Gmail email ID
- Password: Enter Gmail password
- Press Continue.
- Check Account Summary.
- Click Create.
Now, drag and drop the desired files from Gmail to Apple Mail on Mac.
Professional Solution to Import PST to Apple Mail on Mac
MacMister PST To Apple Mail for Mac is a trouble-free application that helps to batch import PST folders to Apple Mail directly. The solution includes IMAP Server as a saving option that allows users to provide Apple Mail IMAP details and import PST file to the Apple Mail account straightaway. The simple GUI allows technical and non-technical users to operate the tool effortlessly and help them in perform the desired task without data loss.

The software possesses many beneficial features which allow importing PST files as per need. Download the trial edition and convert 25 files from the PST folder to Apple Mail free of cost. This will help you in gaining experience of its working as well as the options it offers.
Steps to Import PST to Mac Mail on Mac
Step 1. Download and run PST to Apple Mail on macOS.
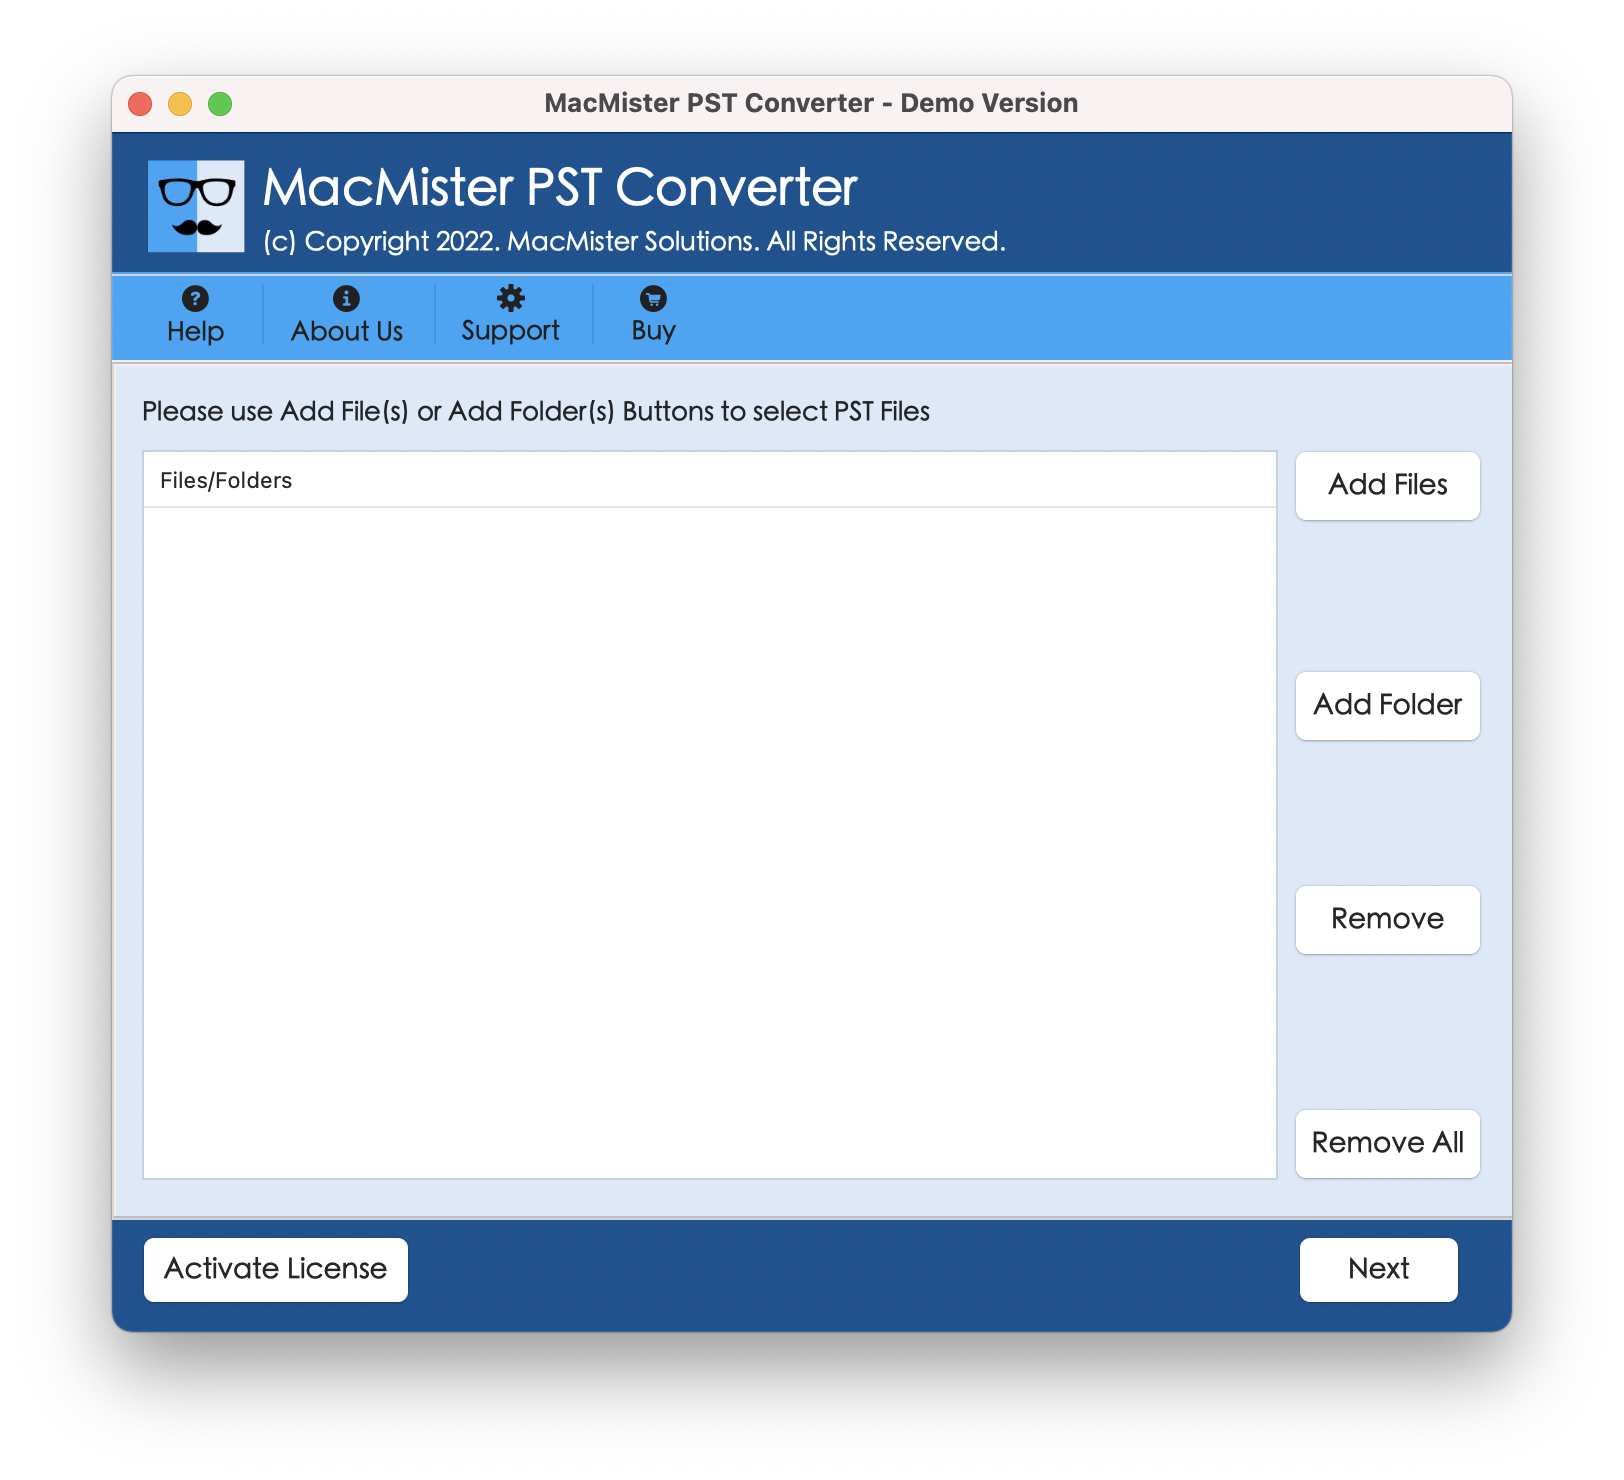
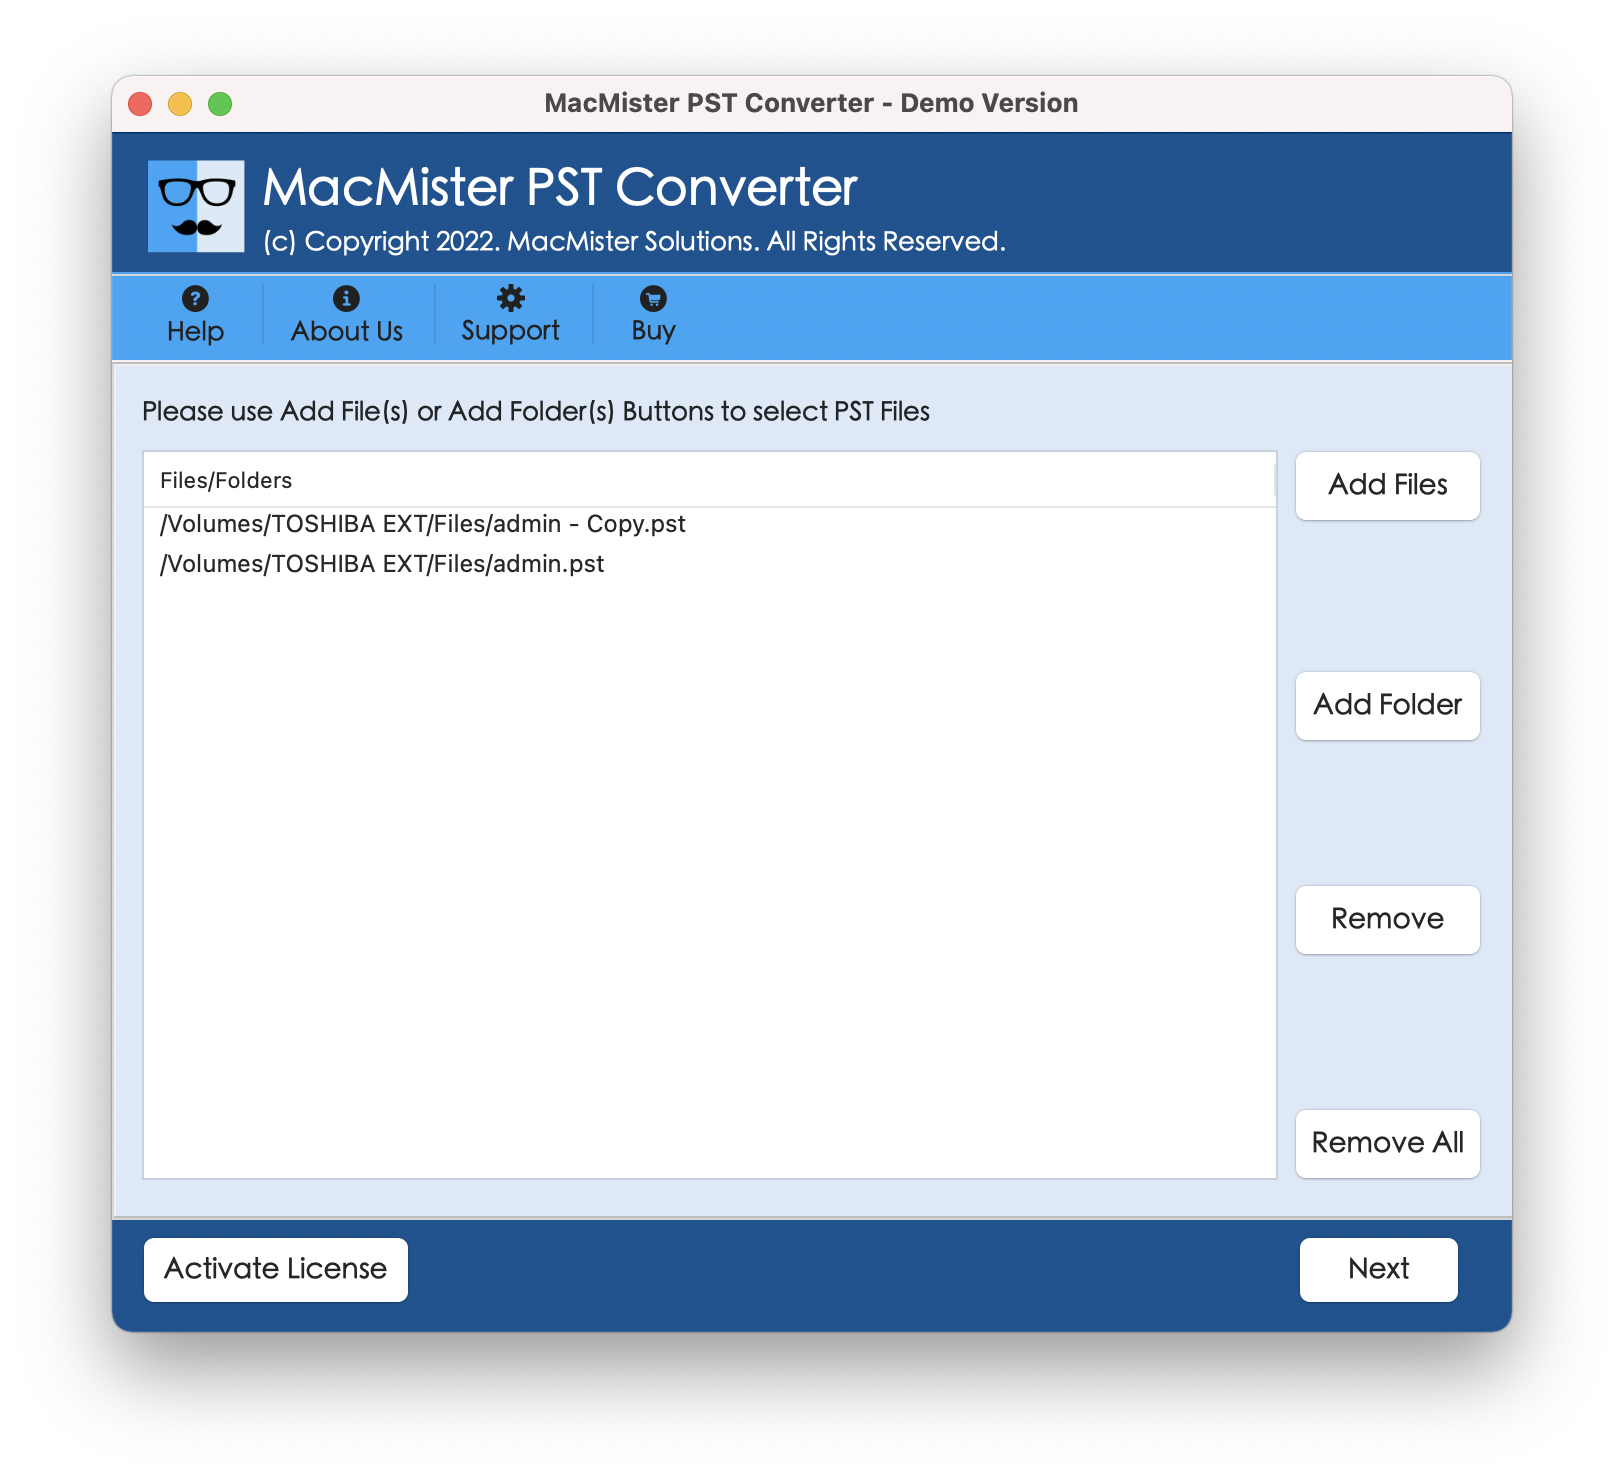
Step 2. Add PST files on the software with the help of Add Files and Add Folder button and click Next.
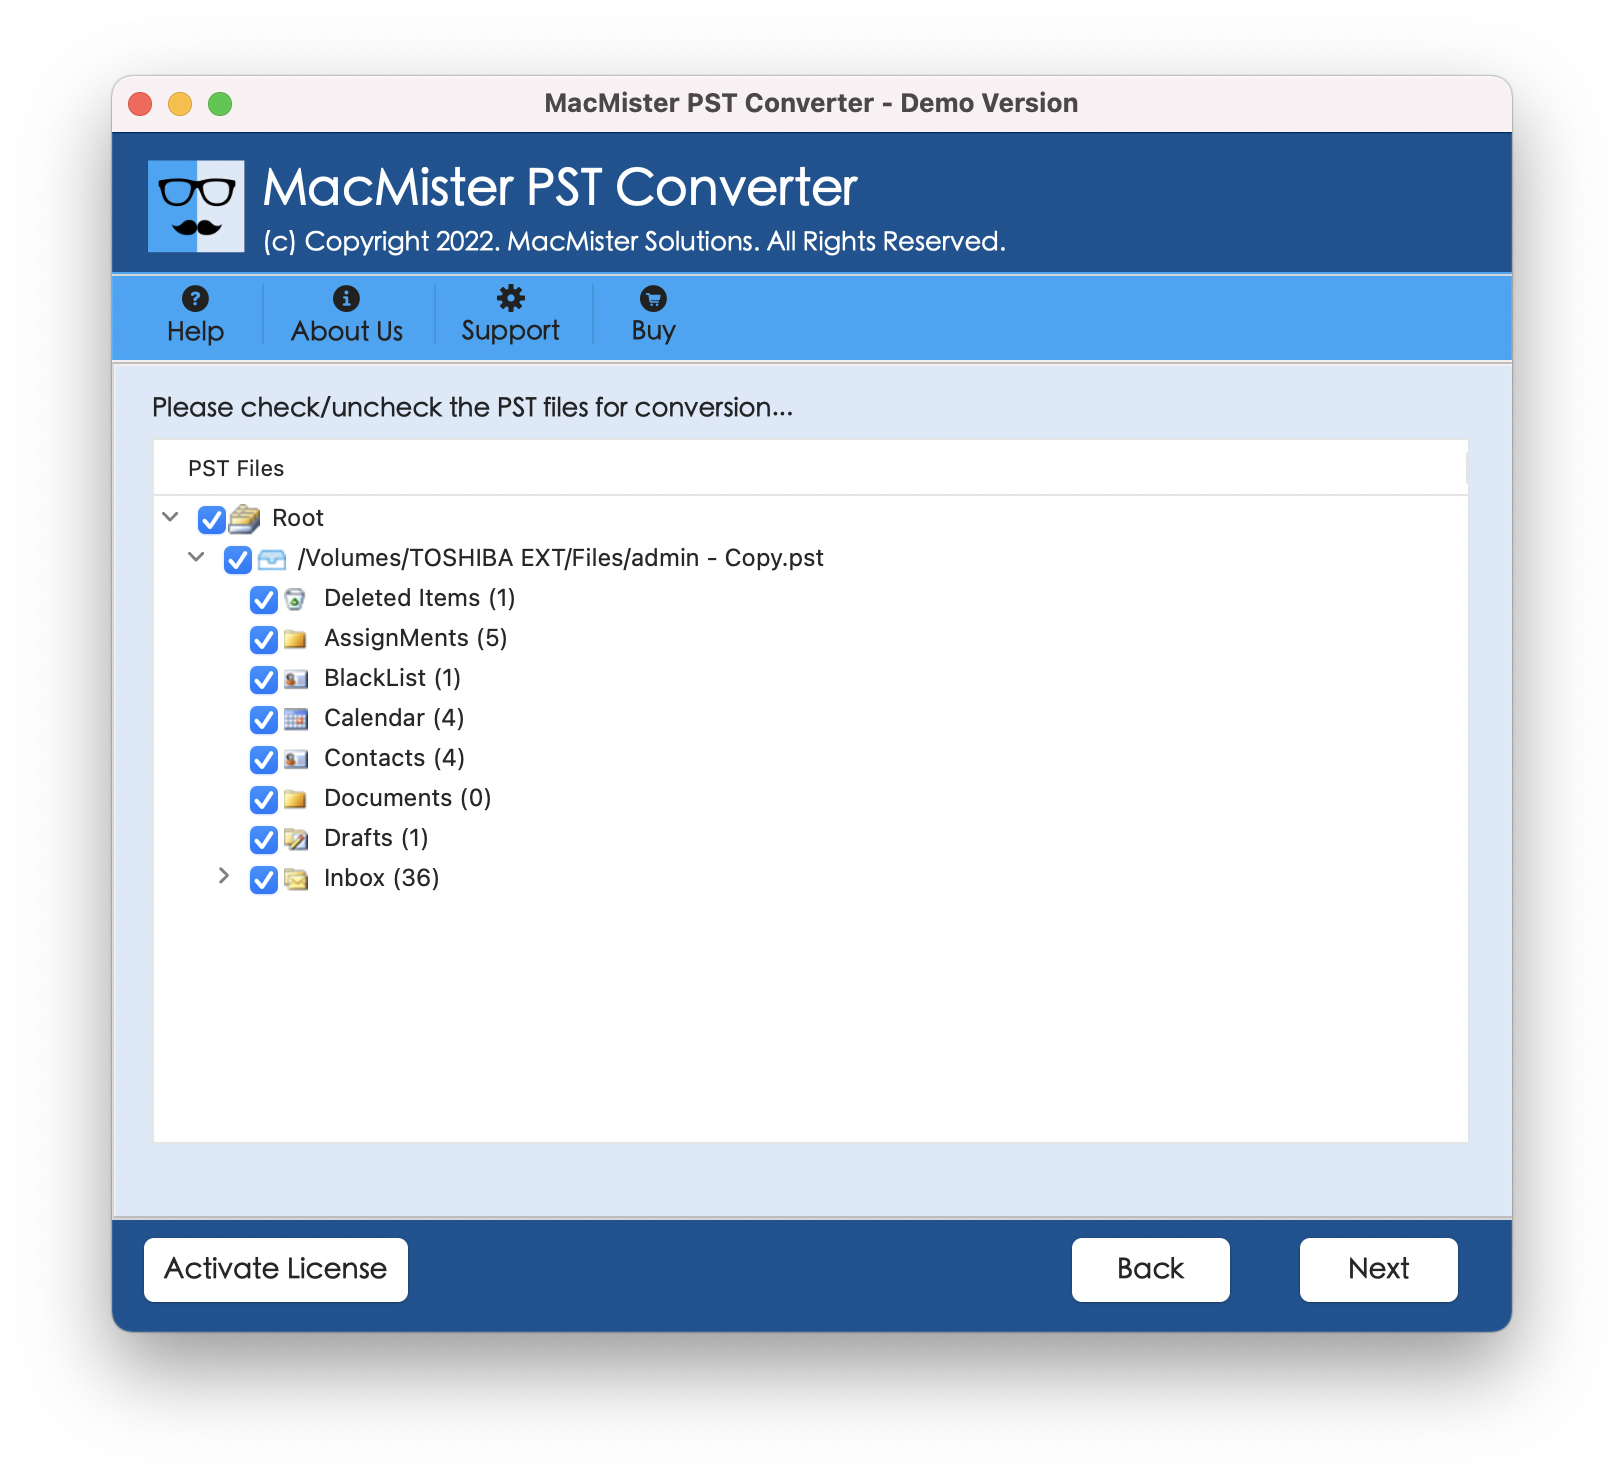
Step 3. PST file list appears instantly and shows all the items with checkboxes. The checkbox will help in the selective migration of PST files to Apple Mail. It has been added if a user would like to perform it if it’s necessary otherwise click Next.
Step 4. Choose the IMAP Server option by clicking Select Saving Option.
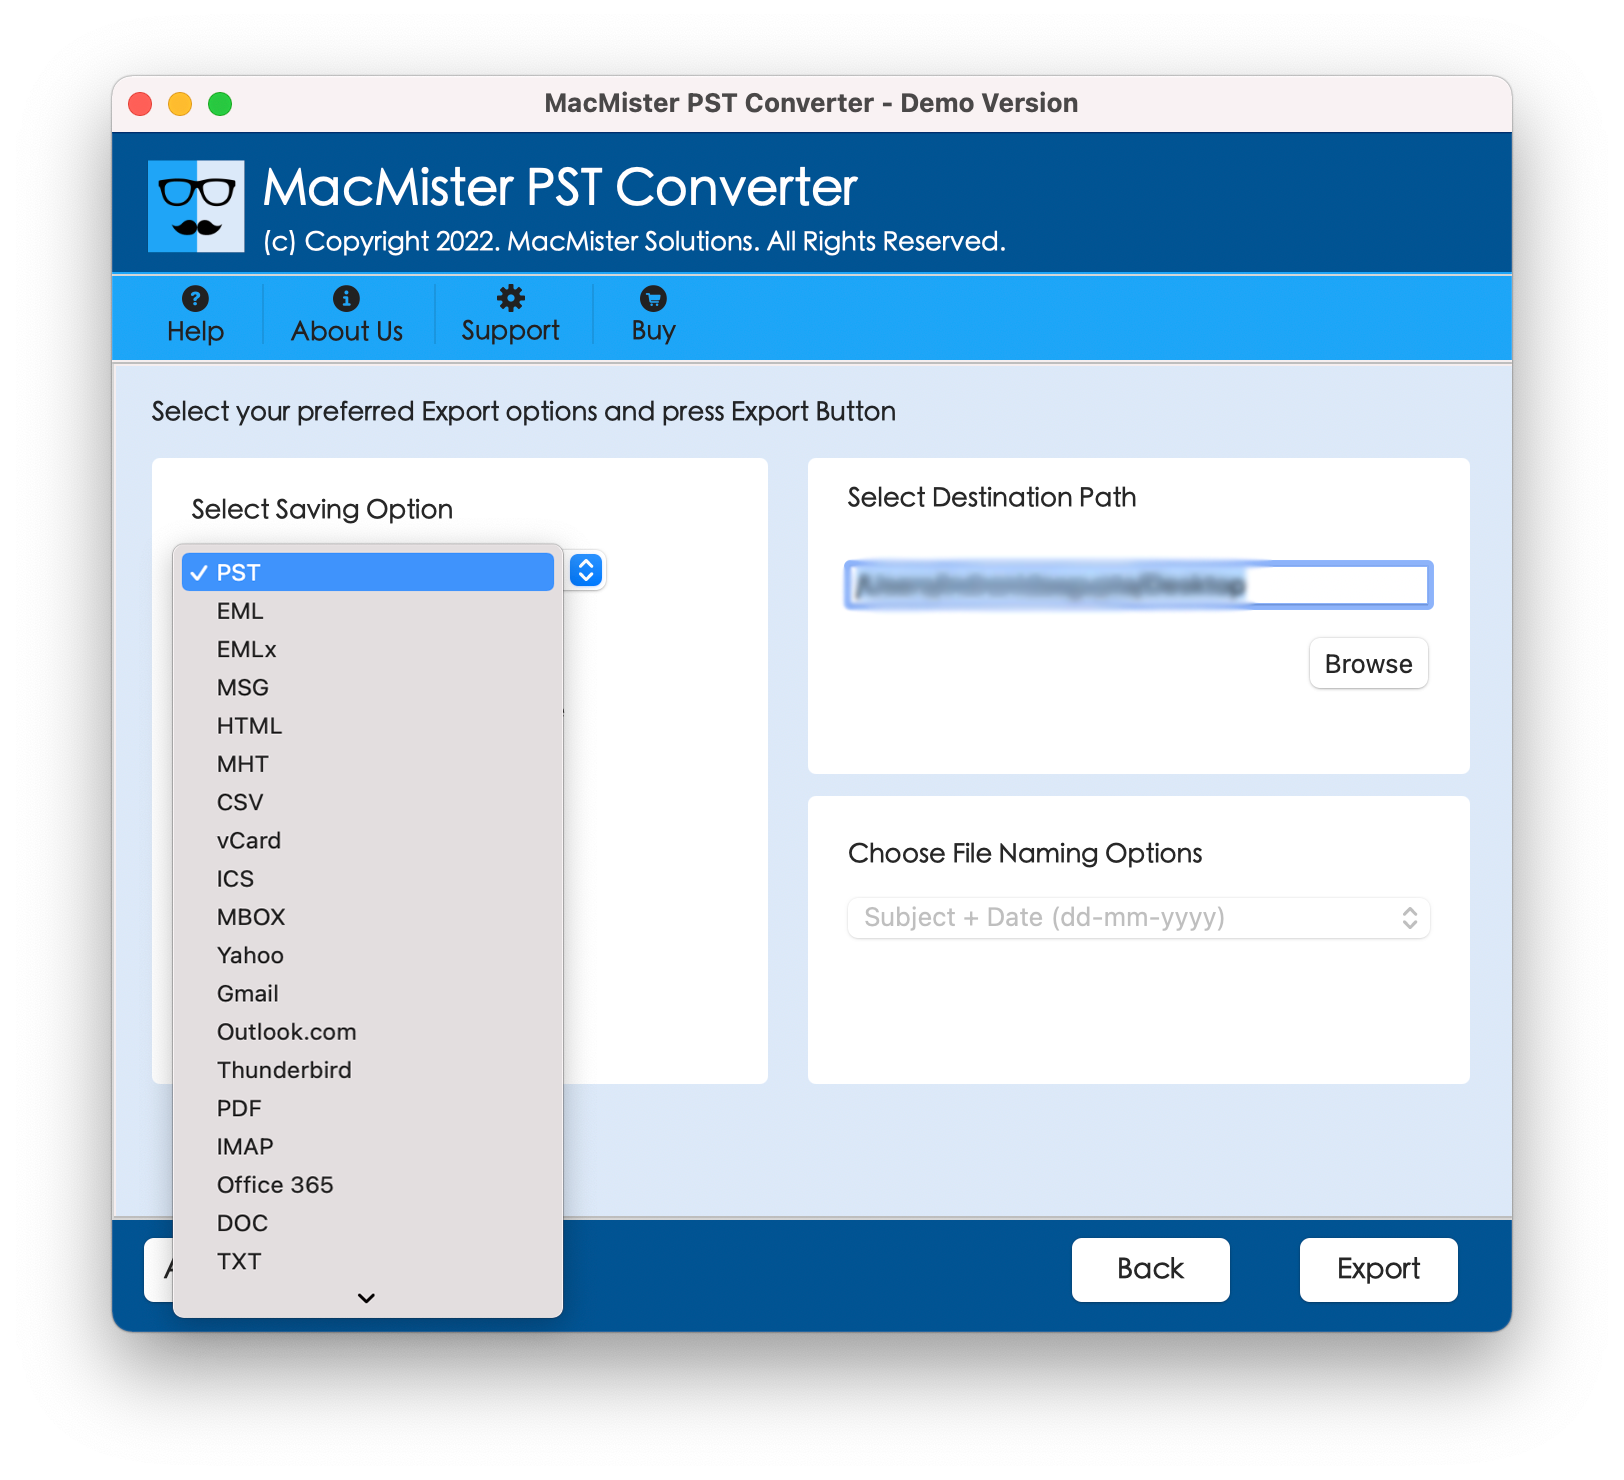
Step 5. Enter Apple Mail IMAP Server details – Apple Mail Email ID, Password, IMAP Host, and Port Number. When done, press Export.
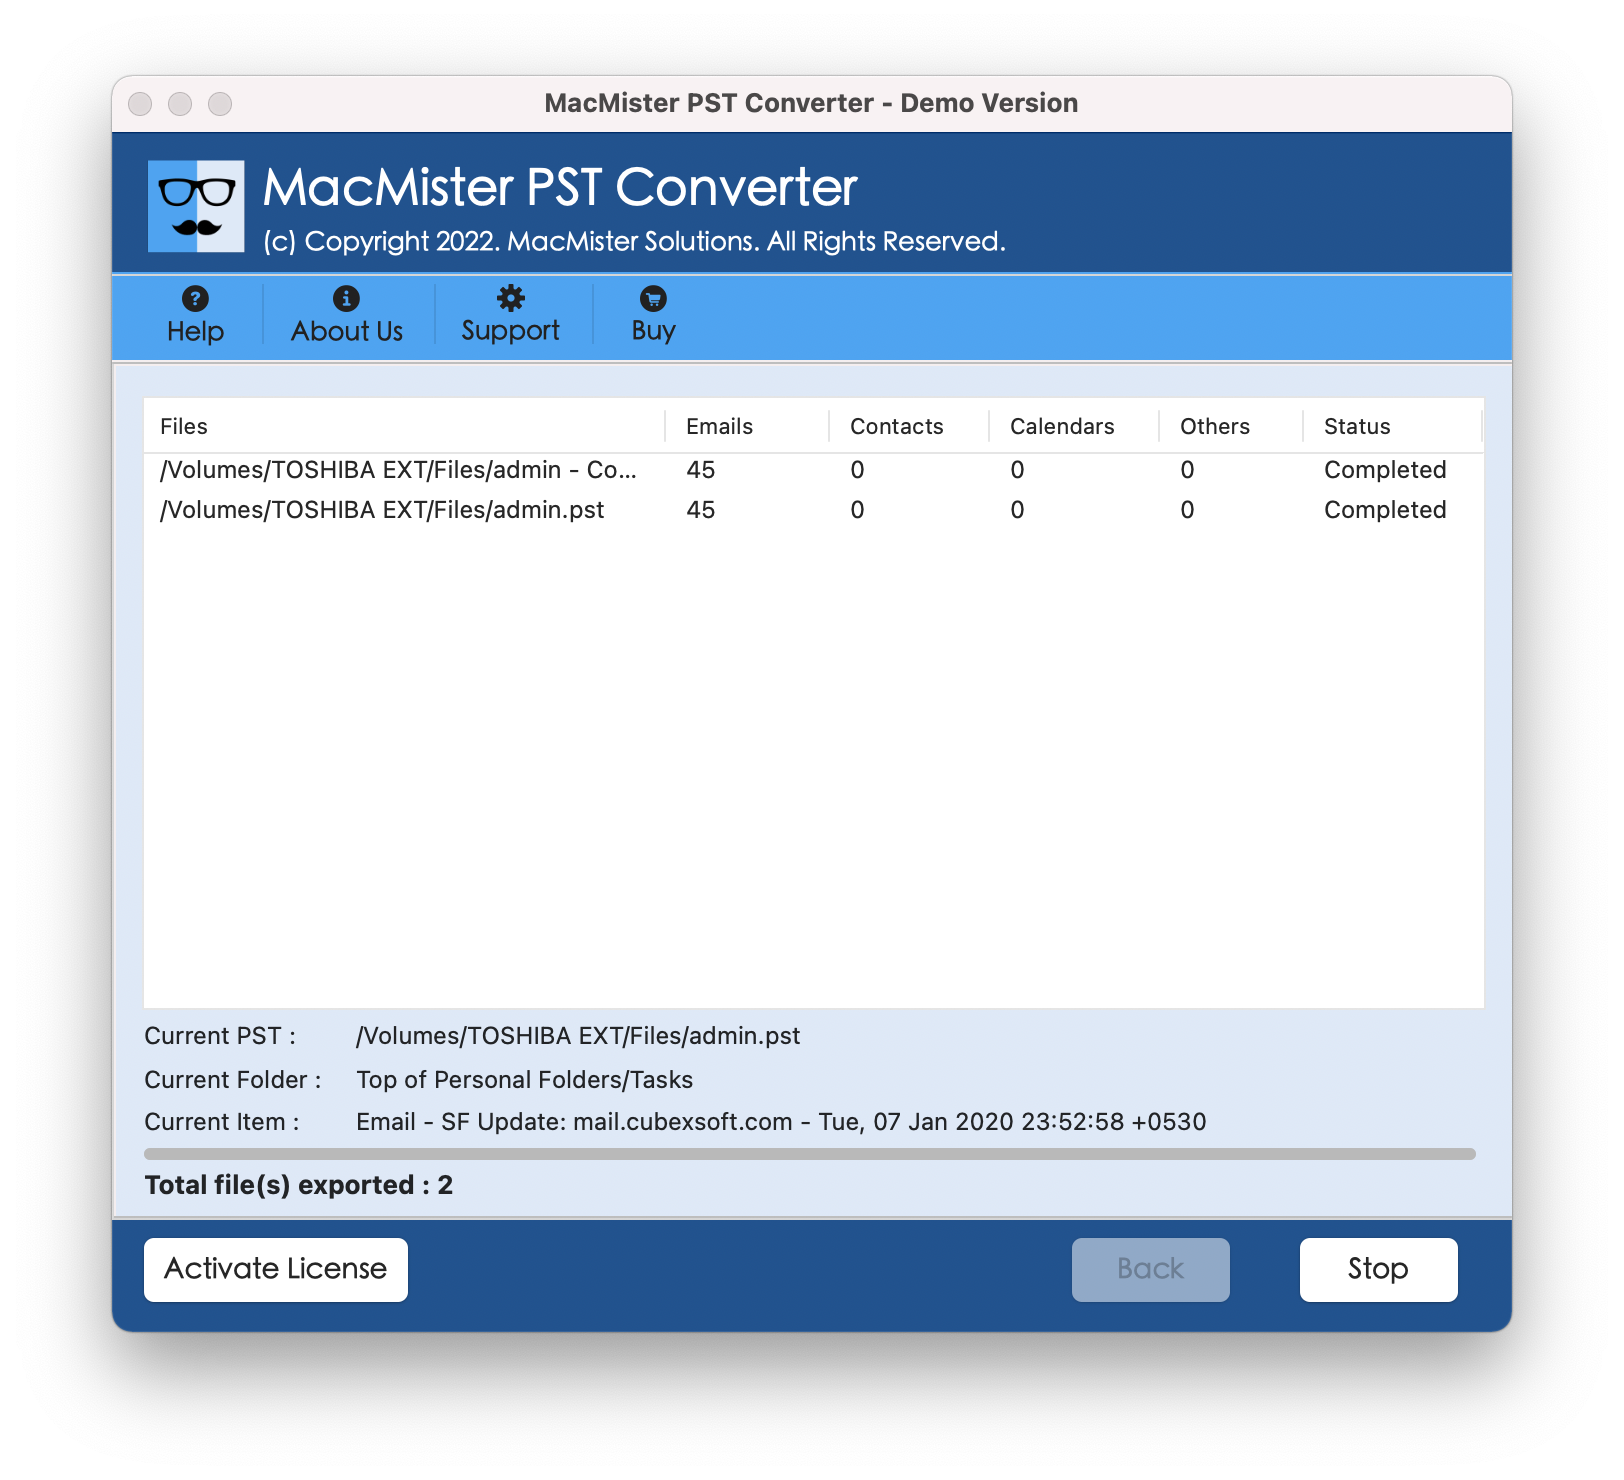
Step 6. Check the migration through the Live Conversion window as shown on the screen. Here, the user can track the total items converted, total items left, and status.
Now, go to the specified Apple Mail account and check the data. The originality of PST emails and attachments will remain intact during the process.
Note. Operate these steps carefully. If you find any difficulty, you can contact our support team at any time. They will guide you throughout the process and help you in providing the desired outcome.
Conclusion
Go through the article and know multiple methods to import PST files to Apple Mail on Mac directly. You can implement the desired solution and perform the process. However, no matter which technique you opt for, make sure to take a backup of your files before starting the migration of PST files.